Modeling a 3D plane
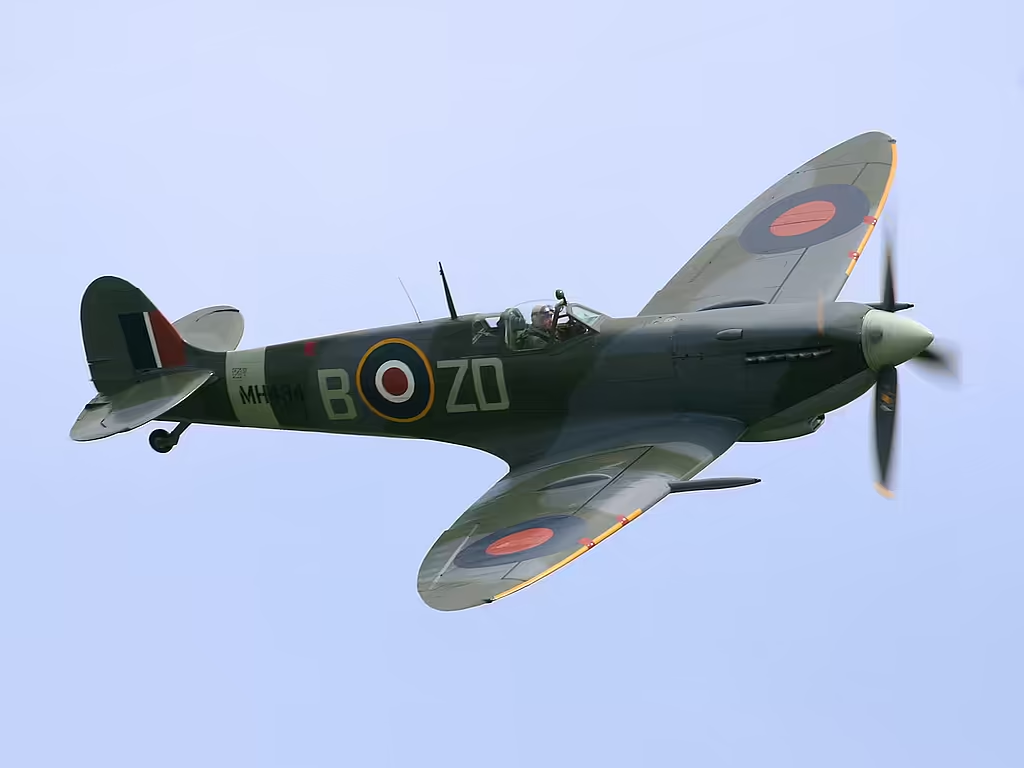
This post aims at explaining how modeling a 3D plane: the Supermarine Spitfire. It's a beautiful World War II English plane.
Modeling
I'm a complete novice in modeling. I have not taken any course on the subject. All I know is by reading some of the Freecad documentation, reading blog posts and watching some youtube videos. As a consequence, I might be completely off in my way of modeling.
For the modeling, I'll use Freecad (https://www.freecadweb.org/). It's a free, open-source software for modeling and available on linux.
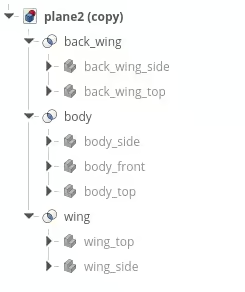
The plane is split in 3 parts: body, wings and horizontal stabilizer (i.e. back wings).
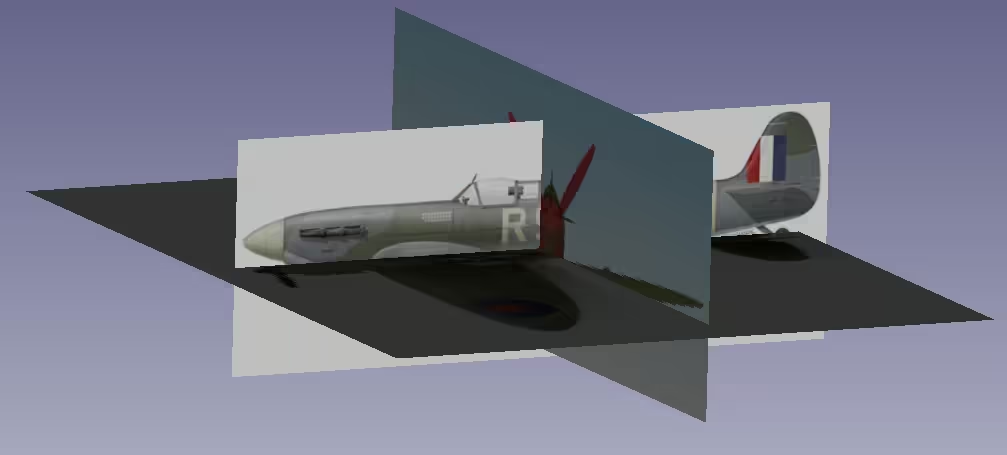
3 pictures of the plane are used: one from the top, one from the side, and one from the front.
Fuselage
The fuselage of the plane is sketched according to the 3 axis. Here the side sketch:
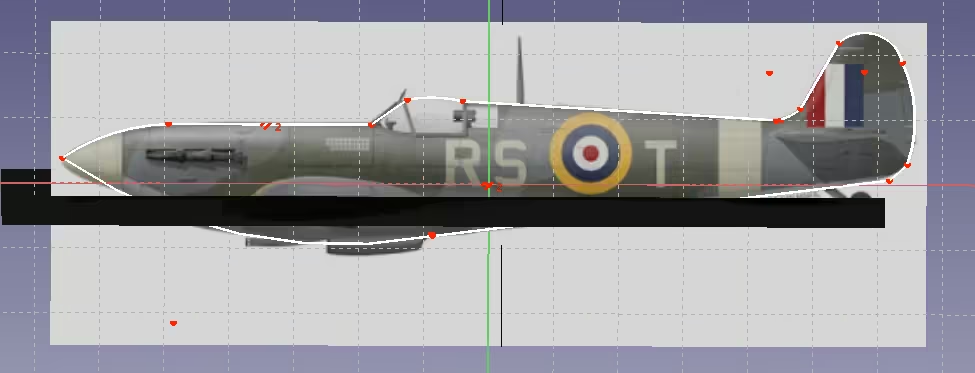
Once the side sketch is done, I can pad the sketch (i.e. filling it).
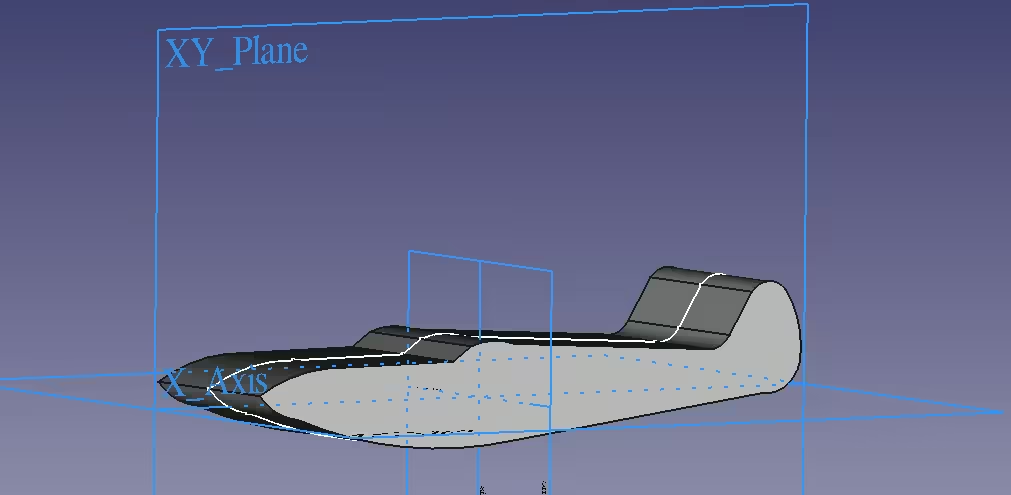
I repeat this process for the front image as well as the top image.
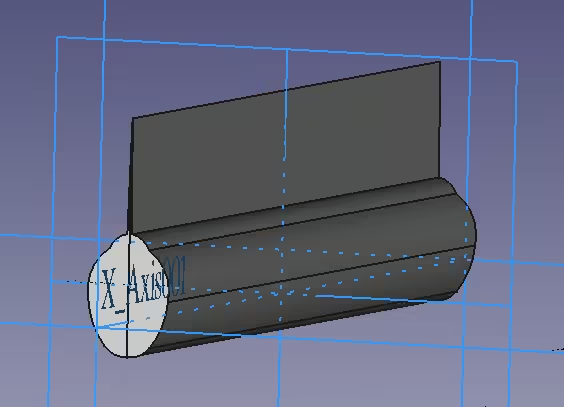
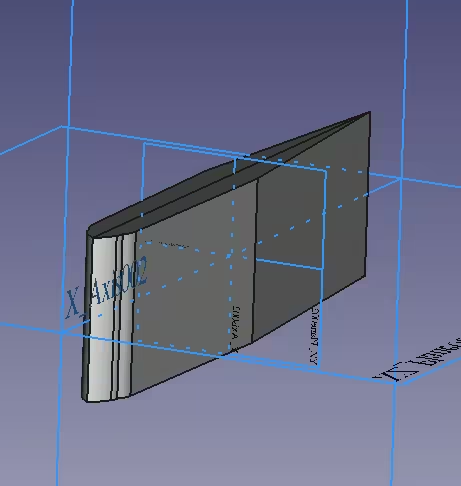
Once this is done, I compute the intersection of each modeling.
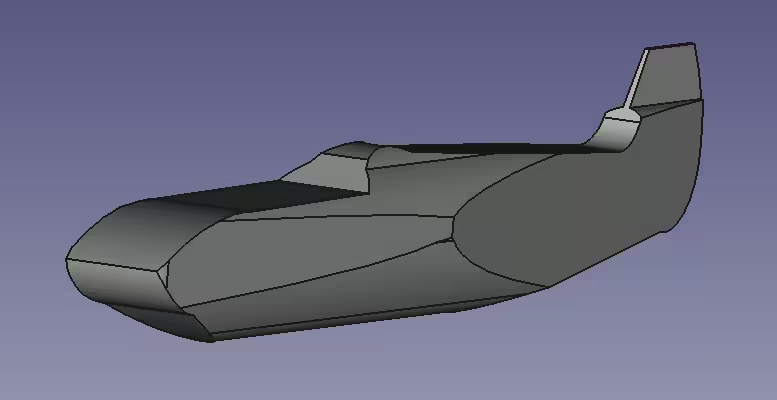
Wings
I do the same thing for the wings (only on 2 axis).
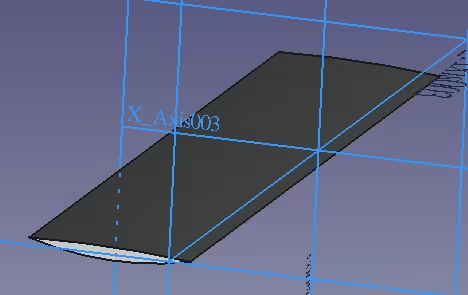

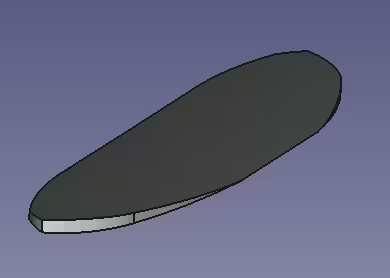
Horizontal stabilizer
I do the same thing for the horizontal stabilizer (only on 2 axis).
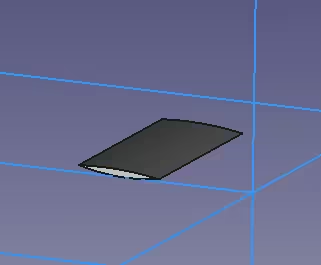
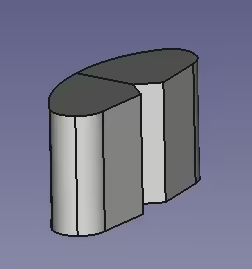
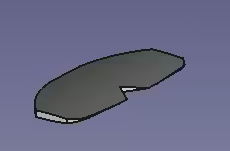
Whole plane
I then compute the union of the fuselage, wings and horizontal stabilizer.
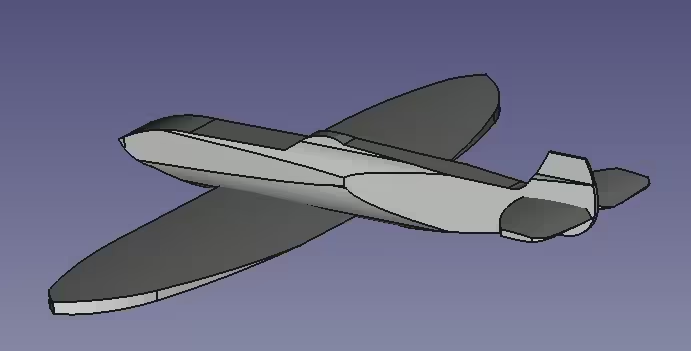
That's it !
3D slicing
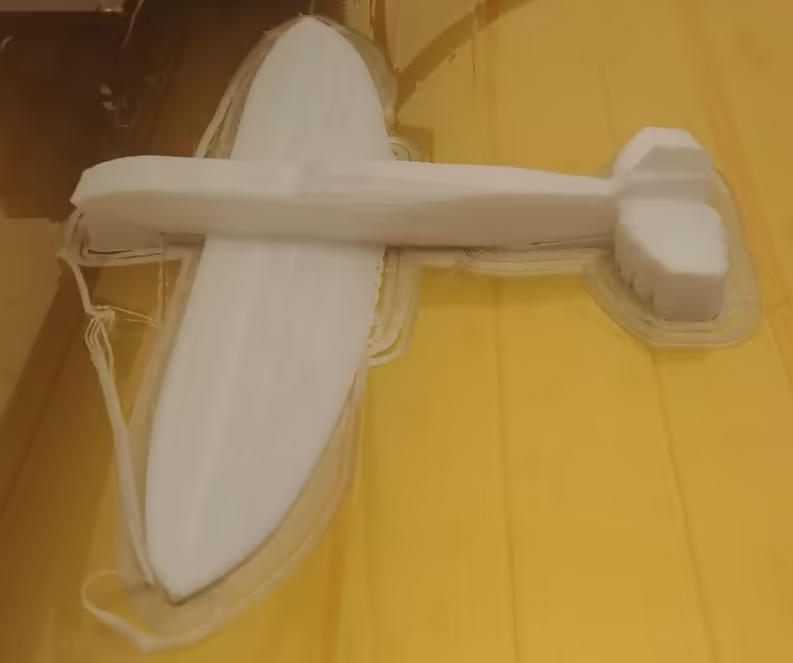
Once the modeling part is done, we need to print the piece.
To do that, we use a slicer, a software which converts a 3D object into printing instructions (a bit like a compiler transform code into machine instructions).
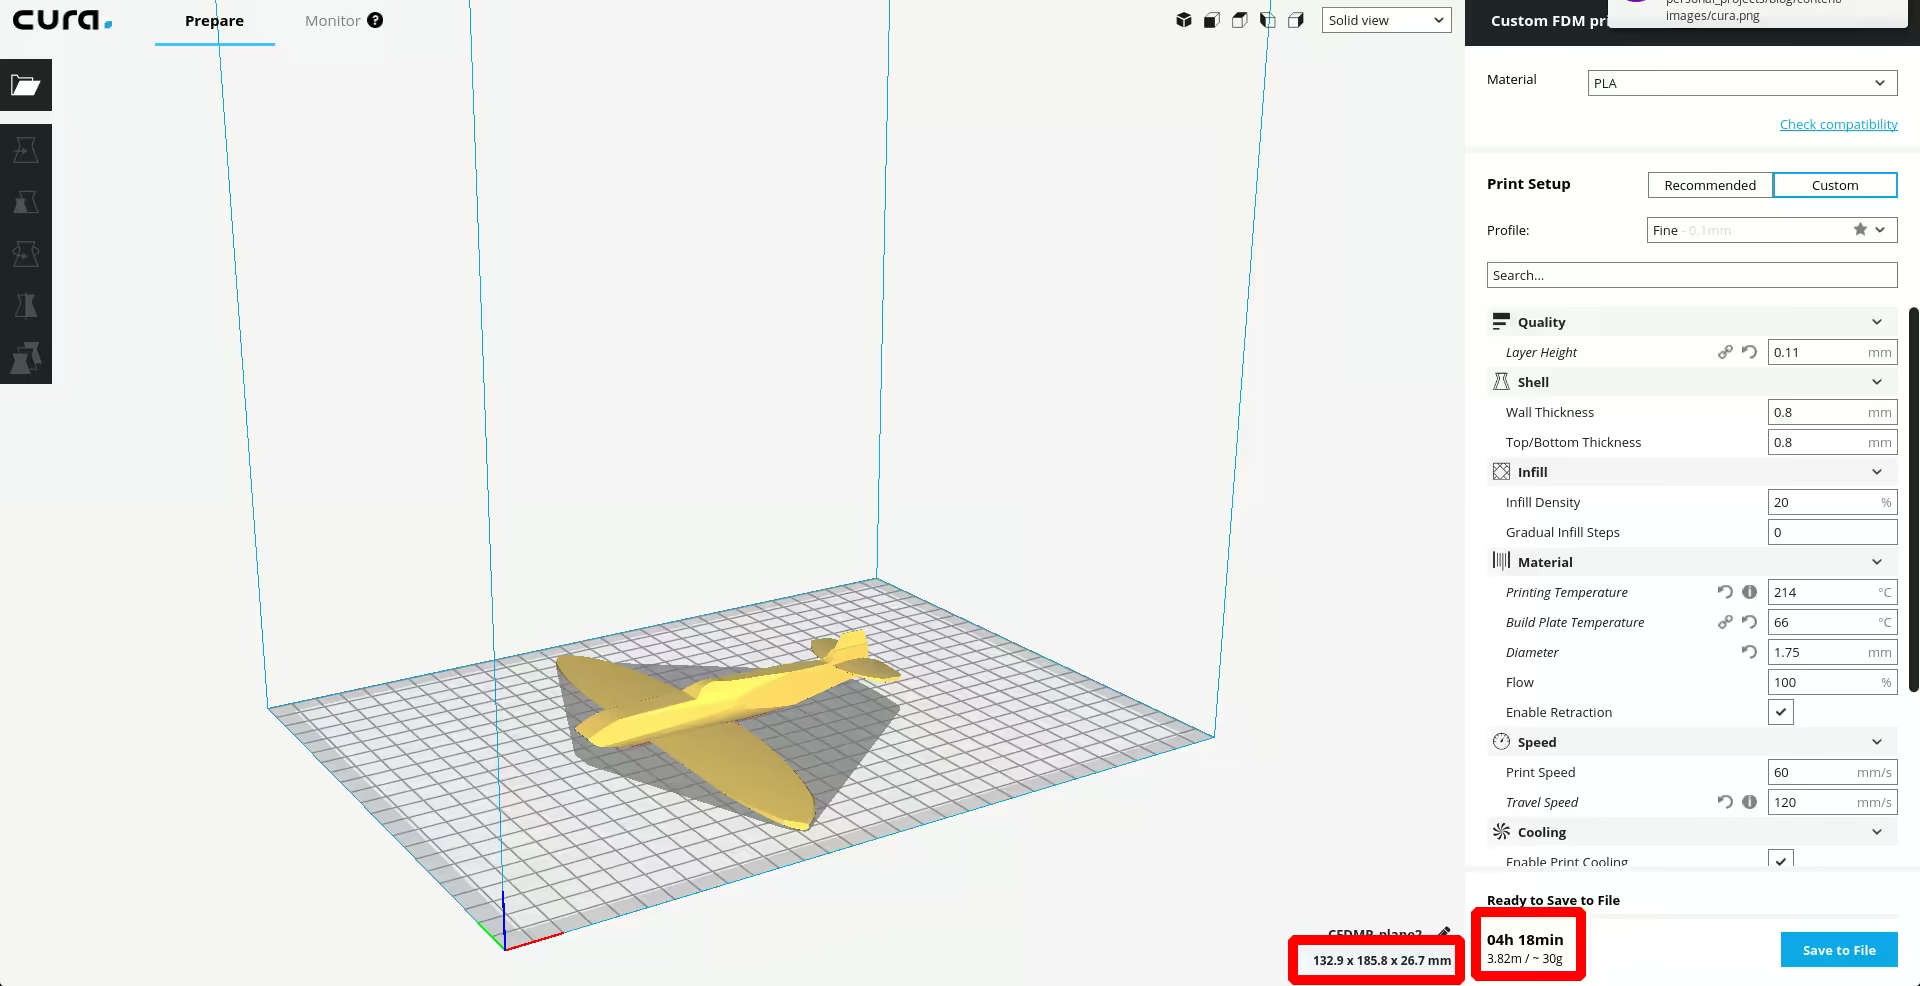
I'm using Cura which is probably the most well known slicer. I just need to export the .obj file from Freecad and importing it in Cura. We can tune many printing parameters whithin Cura.
In this case, Cura informs us that printing a plane of 13cmx18cmx2.6cm takes around 4 hours.
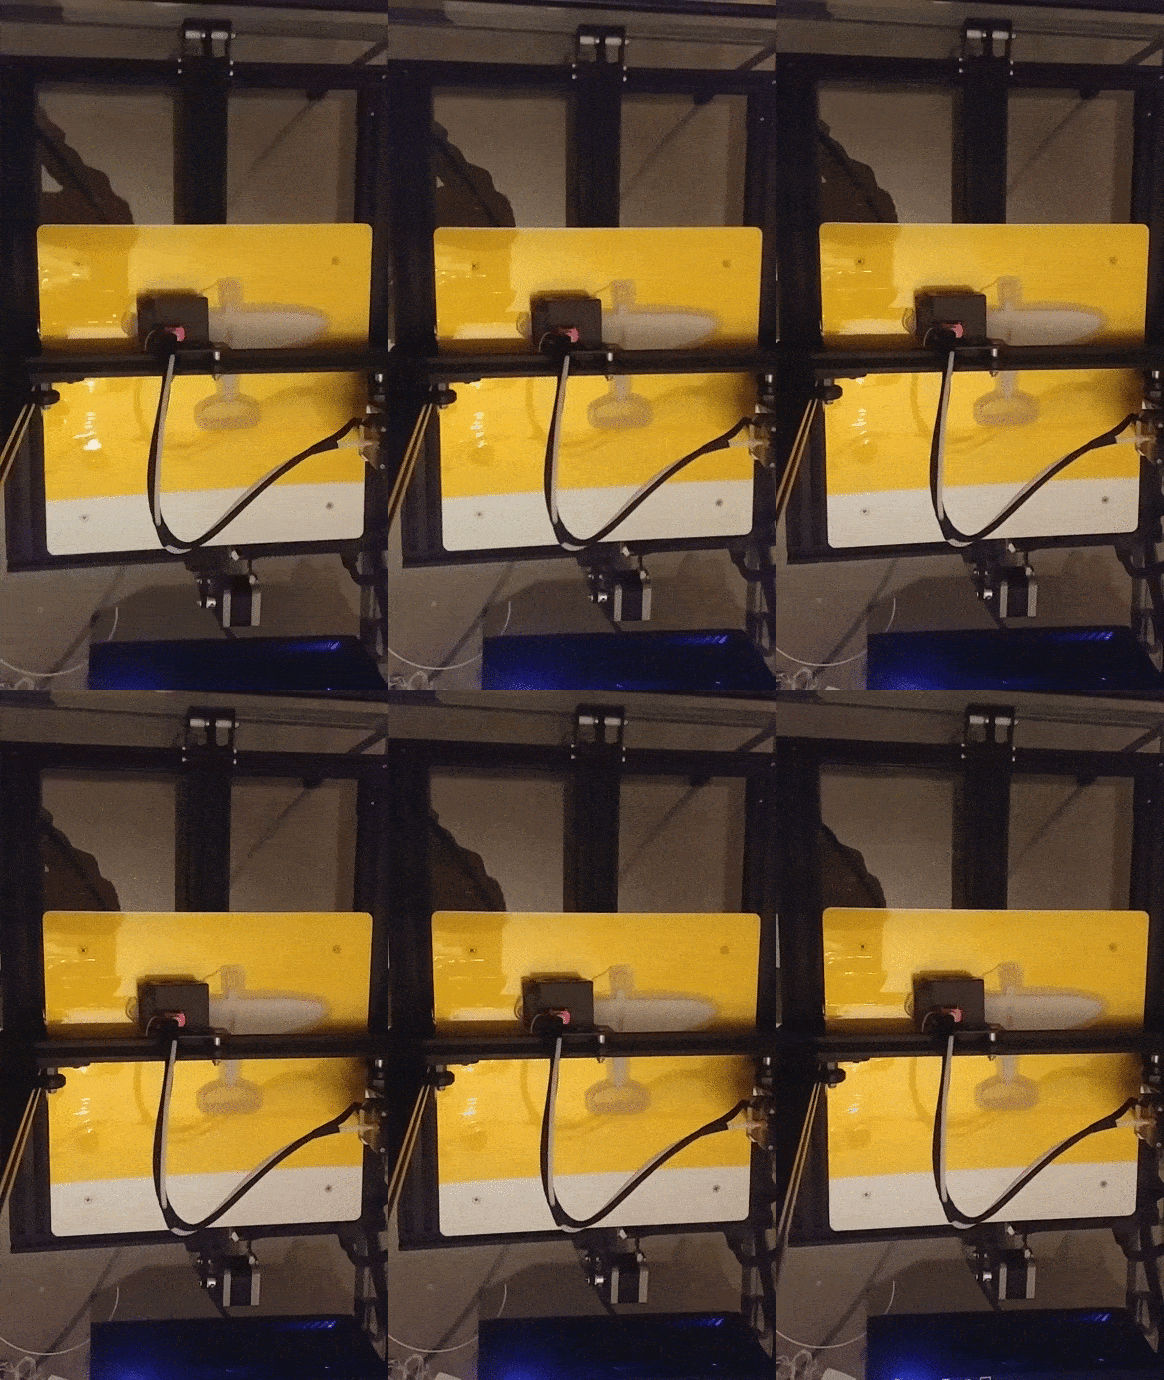
Printing
Enhancing
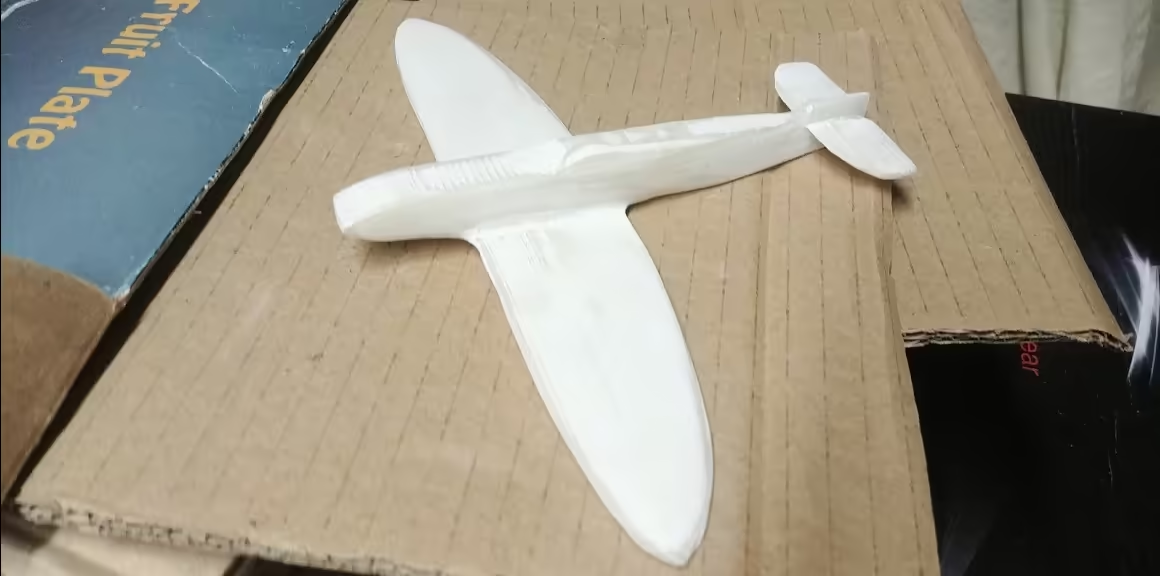
In order to have a smooth surface, here are the steps needed before painting:
- remove the support
- sand the plane
- apply mastic
Offering
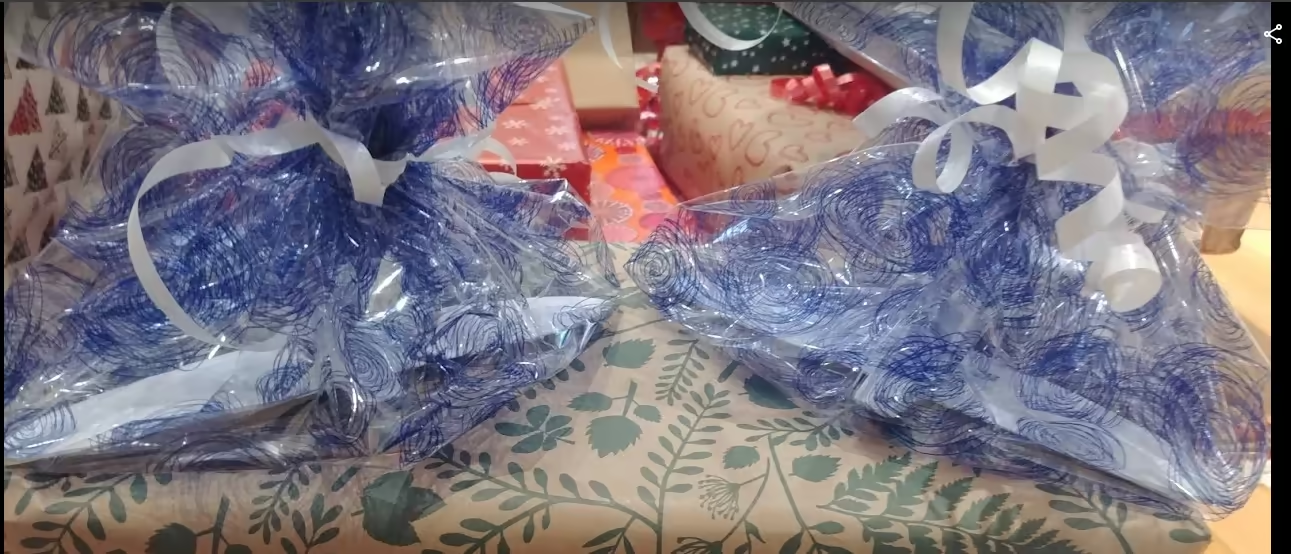
Finally, once the plane has been painted, it's ready to be given!
Conclusion
This post was a brief presentation of my process for modeling, printing and enhancing a small plane. Hope you've enjoyed it.